Search waiting | Matsusada Precision

Searching...

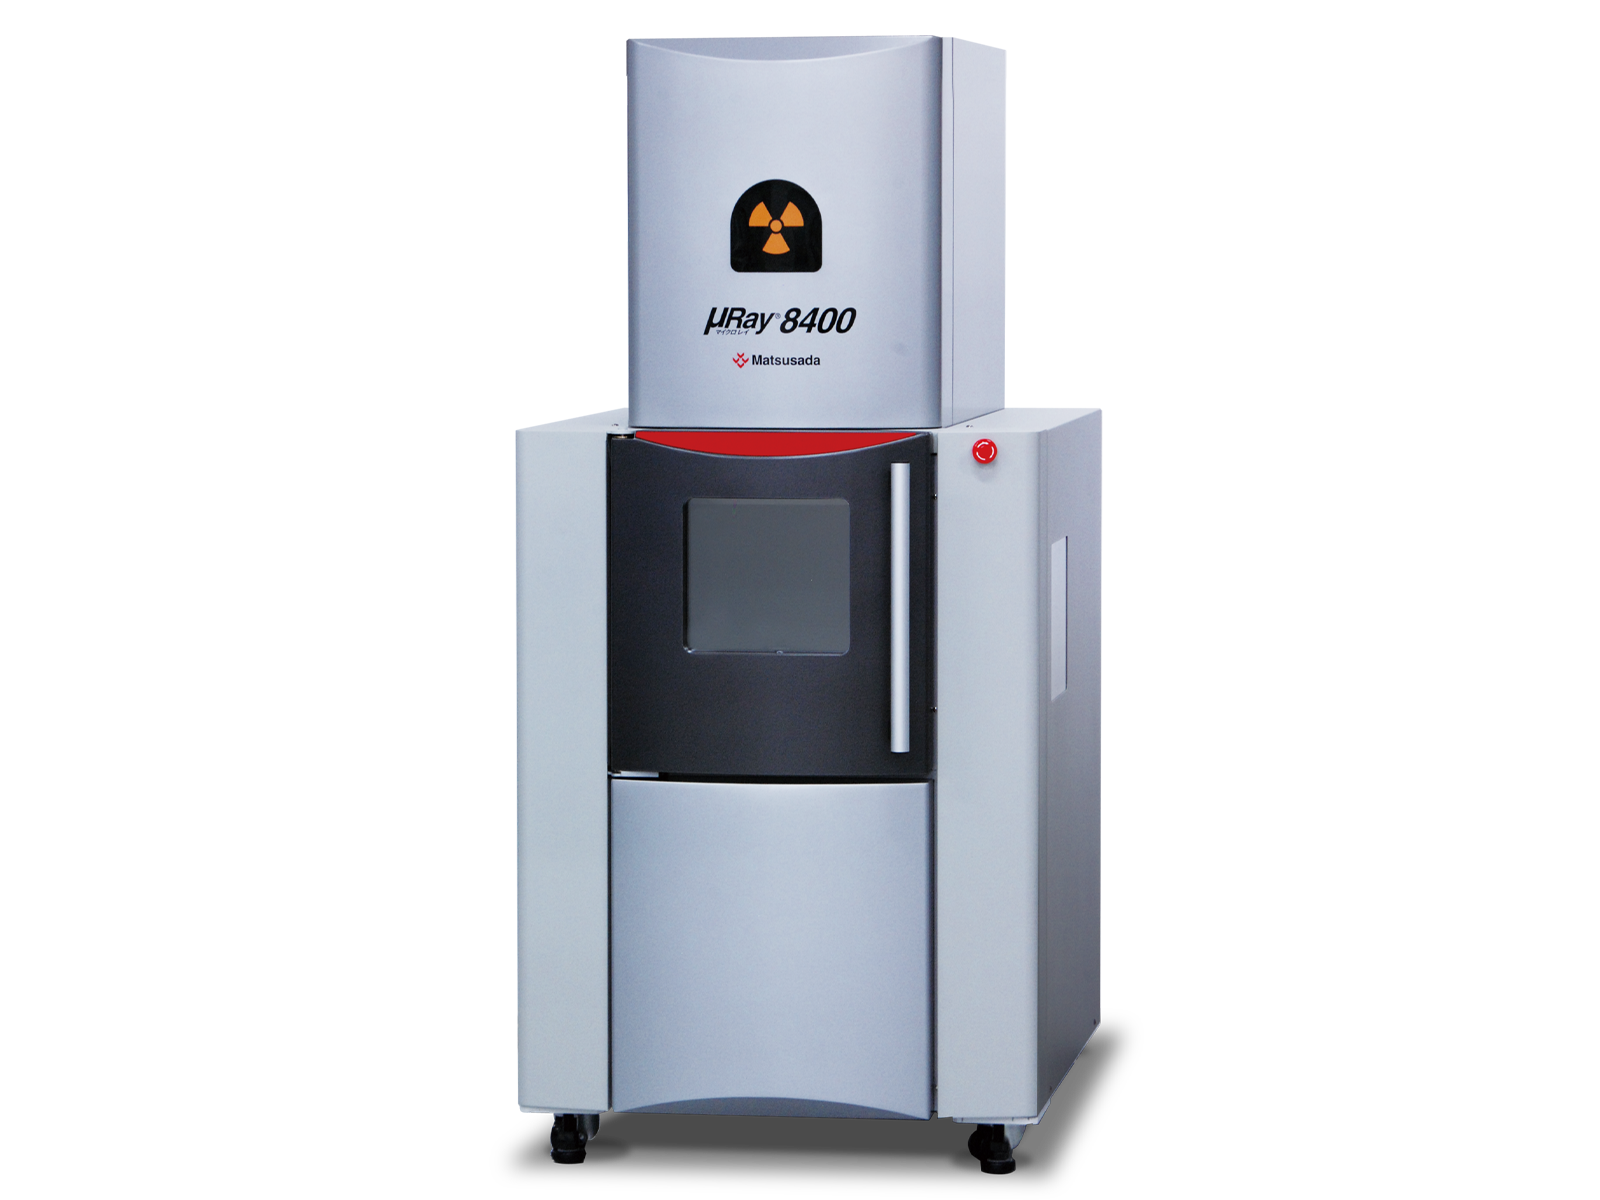
  • µRay8400 series | X-ray Inspection System (Vertical Model) | Matsusada Precision
  • µRay8400 series | X-ray Inspection System (Vertical Model) | Matsusada Precision

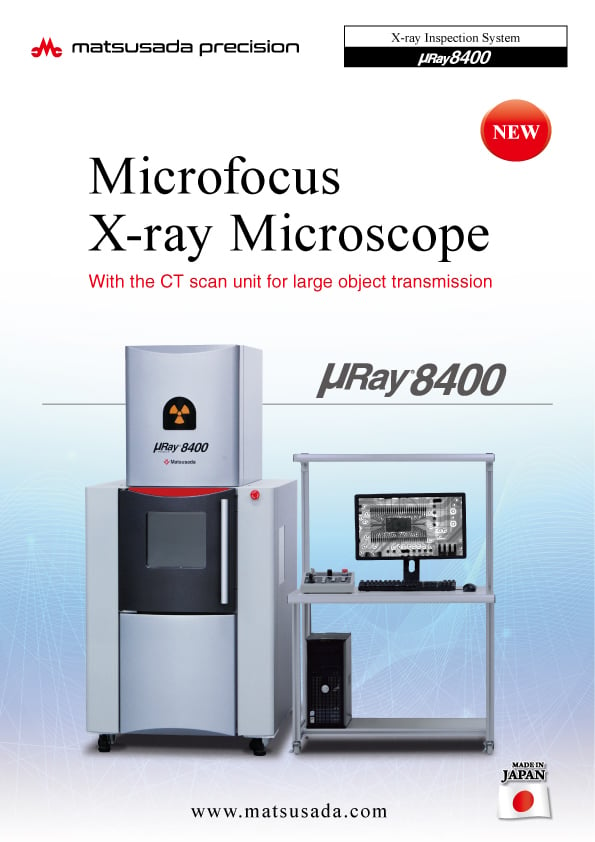
Microfocus
X-ray Microscope

With the CT scan unit for large object transmission

  • Max X-ray Voltage: 130 kV
  • Max X-ray Power: 40 W
  • CT Unit (option)

High transmission performance by 130 kV microfocus X-ray source

Features

  • Precise imaging of with heavy metals
  • Easy setting and observing a single specimen at a micro or macro level
  • Simple operation of batch inspections
  • Various kinds of standard processing software
  • CT Unit (option)

High-resolution Transmission “High resolution” transmission imaging even with heavy metals

High-resolution Transmission with 130kV Micro-focus X-ray Source by Easy Inspection

High-resolution inspection of samples covered with metal

The product employs the maximum output power 130 kV of the high-resolution microfocus, and it is suitable for work inspection of large parts, heavy metals, etc. in the system.
With a minimum focal spot size of 5 μm, it is also available for magnified inspection.
In addition, it features adjustable stages that can be changed freely to a desired position and angle for inspection, along with the multifunctional image processing software, enhancing the operability.

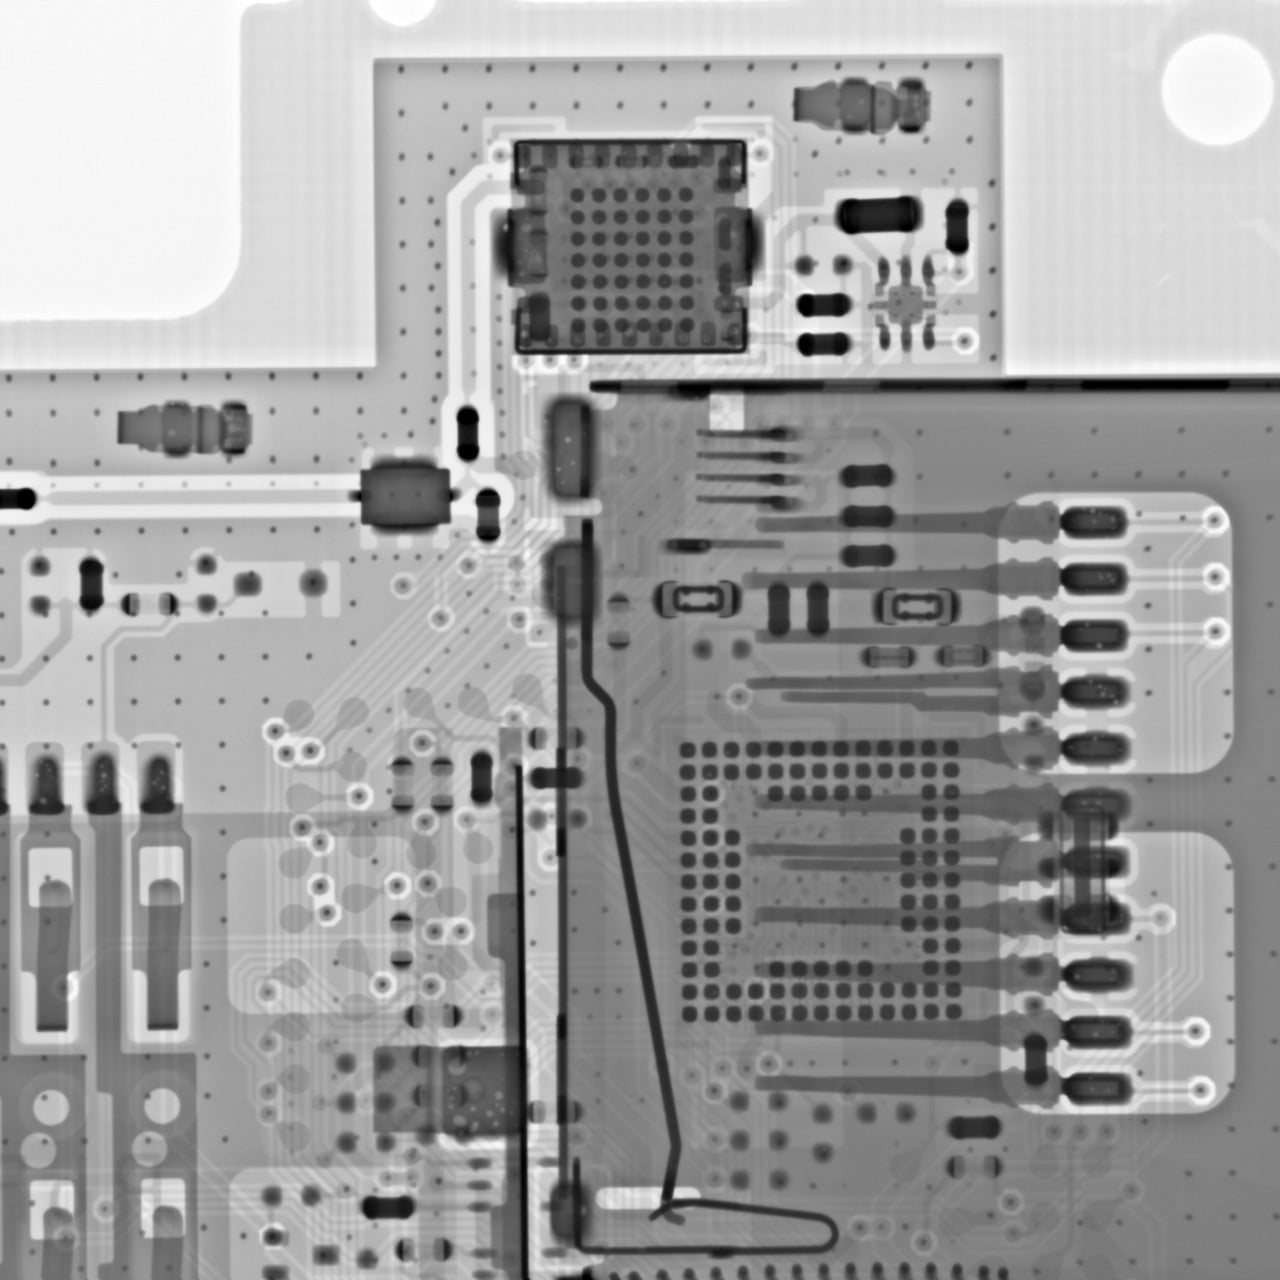
Capture clear image of sample covered by metal

Freely moving in/out sample and easy operation

Wide opening front door and large XY stage make it easy to take out and set samples.
Moreover, the product has a side window that helps the operator to easily observe the samples inside the unit, making the user stress-free.

Easy setting and observation of specimen

Model

Model X-ray generating unit Imaging unit Stage
Tube voltage Output power Focal spot size Vertical stroke Vertical Fields size Number of pixels Density resolution Monitor size Vertical stroke Sample stage
Small focal spot size Large focal spot size Small focal spot Large focal spot Size inch (mm) X-Y stroke Rotation stroke Tilting stroke
X-Y stage Rotation stage X-Y stage Rotation stage X-Y stage Rotation stage X-Y stage Rotation stage
µRay8400 40 to 130 (kV) 8 W MAX
(177 µA MAX)
40W MAX
(300 µA MAX)
8 µm
(5 µm@4 W)
40 µm 4.9-inch
(125 mm)
6-inch or 4-inch diagonal 800,000 pixels 10-bit 21.5-inch 13.8-inch (350 mm)
13.8 x 17.7
(350 x 450)
5.9 x 5.9
(150 x 150)*
13.8 x 13.8
(350 x 350)
13.8 x 13.8
(350 x 350)
- 360 degrees - +/-30 degrees
(at CT option: +/-8 degrees)

* This size is standard. Installation of a larger stage is also available.

Functions

Flexible Inspection of Lot/All Quantity

Helps to reduce mistakes and misjudgments in inspection points.

Teaching Function Automatic movement to a specific point of the same type of samples

Using the teaching function, the stage is automatically moved to the points that have been set in advance.
Once the teaching data is set, you can repeatedly use the same place for imaging at the inspection of many samples of the same type, making inspection more efficient.
Additionally, the X-ray setting value, magnification ratio, stop time, etc., are configured individually for each point.
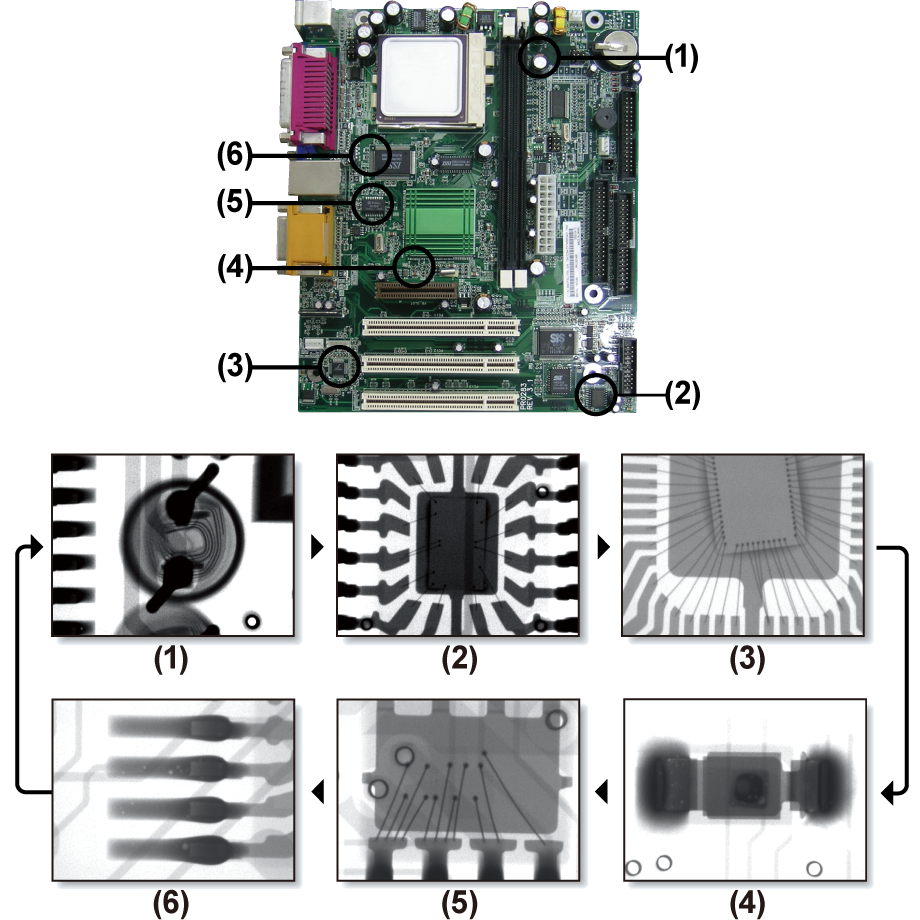
Teaching function

Stitching Function Easy observation of the same sample in a micro and macro scale

Using this function, even large works that would not be captured at once can be taken in a single transmission image up to 350 mm × 350 mm.
Also, you can create a transmission image of the specified portion of a large work.
Furthermore, once the stitched image is captured and saved, automatic movement is available to move the stage to the position clicked on the stitched transmission image by simply loading the image.
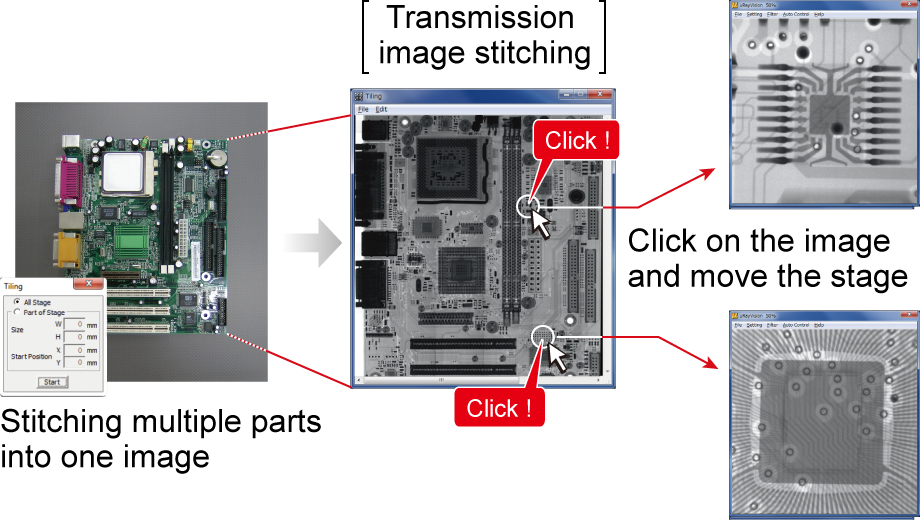
Stitching function

User-Friendly Operation of Image Processing and CT System

High-performance image processing software as standard

Display range

Making use of the histogram of the captured image, you can configure an arbitrary grayscale value to manually enhance the contrast.

Display Range

Brightness adjustment

It enables you to freely change the brightness by arranging individual values in gain, contrast, and gamma.

Brightness adjustment

Size measurement

By drawing the measurement lines, you can measure the dimension in the captured image.

Size measurement

Threshold

The captured image is divided into two parts, light and dark by setting a threshold value to binarize the captured image.

Threshold

Filters

More than 10 types of filter processing and image processing are available to enable detailed detection.
And, by applying the filter processing to the video display, the system offers real-time detection.

Filters

Specifications

For details, download the datasheet below.

Options

µRayVision.2

μRayVision2, the software for system control and image capturing offers user-friendly operation to perform X-ray inspection more effectively.
The software enables to display of multiple images on the monitor at once, so it is easy to compare good images and captured images side by side or to compare and evaluate images captured under different conditions.
In addition, using the digital camera attached inside the unit, you can take the entire work on the stage to check the work appearance, and the image can also be displayed on the monitor while pinpointing the part for transmission observation, thus enabling an optimal, efficient X-ray inspection.

X-ray Inspection Systems (Top View Type)・µRayVision.2

A Thumbnails

Thumbnails of the saved images are displayed for each holder.
So, you can use the thumbnails to select images when opening a saved image for measurement, or when shooting the same sample according to the existing shooting conditions.

X-ray Inspection Systems (Top View Type)・µRayVision.2
Folder list
It displays the shooting conditions for the selected image.
The folders in each drive are listed and you can easily find the destination folder.

Thumbnail display
It displays the listing of images in the selected folder.

Shooting condition display
It displays the shooting conditions of the selected image.
You can re-shoot under the same conditions by loading the shooting conditions recorded when the image was saved.

B Image display of work appearance checking

X-ray Inspection Systems (Top View Type)・µRayVision.2

The image of the entire work on the stage taken by the digital camera of work appearance checking is displayed in the area. Click on the point in the image, the stage will move.
The function is also available with an enlarged image of a certain part of the work, enabling more accurate positioning.

C images

Multiple identical images can be lined up to evaluate before and after filter processing and contrast adjustment. And, more detailed positioning and state movement are available for live images. You can move the part to the center of the screen and also freely manipulate the stage using the mouse to the arbitrary direction on the live image.

D Control panel

Image display area of entire work appearance

-LCTN/-LCTM/-LCTX

CT function
This function allows you to combine multiple transmitted images to obtain a three-dimensional 3D image. Arbitrary cross-sections can also be displayed and output as CAD data.
* Selecting -LCTX, -LCTM, and -LCTN together is not allowed.

2D/3D software for X-ray inspection
-LE

Language setting (English)
The language setting of the attached Instruction Manual, OS, and software is set to English. US keyboard will be selected.

-LR

Rotating/Tilting stage
Use the optional stage to rotate and tilt the samples flexibly. It is easier to find defective parts.

-L(***V)

Input voltage option
Input voltage is changed to 110 V, 115 V, 120 V, 200 V, 220 V, 230 V, 240 V, or Vac ±10% by entering it in ***.

How to Order

Add Option Name to the Model number in alphabetic and numeric orders.
<Example> μRay8400-LCTMEFR(200V)

Additional products

STG023

Four-jaw chucking
As the device has the shape of chuck jaws on the edge, it is useful to observe samples that are difficult to fix on the stage.
The device length varies according to the size of the works, so contact us.

Four-jaw chucking
STG004

Wide stage
As it is larger than the standard one, you can deal with larger samples.
Please contact us to select your desired size for use.

Four-jaw chucking
XDSK600

Aluminum desk

Applications

Fields and Applications of X-ray Radiography Non-Destructive Testing

Pharmaceuticals and Cosmetics
Tablets, Capsules, Catheters, Medical pouches, Foreign objects in the face mask, Cosmetics
Automobiles and Electric Vehicles
Automotive components, Wire harness, Batteries, Molded plastic parts, Motor, Insert molded parts, Aluminum die casting, Sensor, Mating parts connection
Electronics
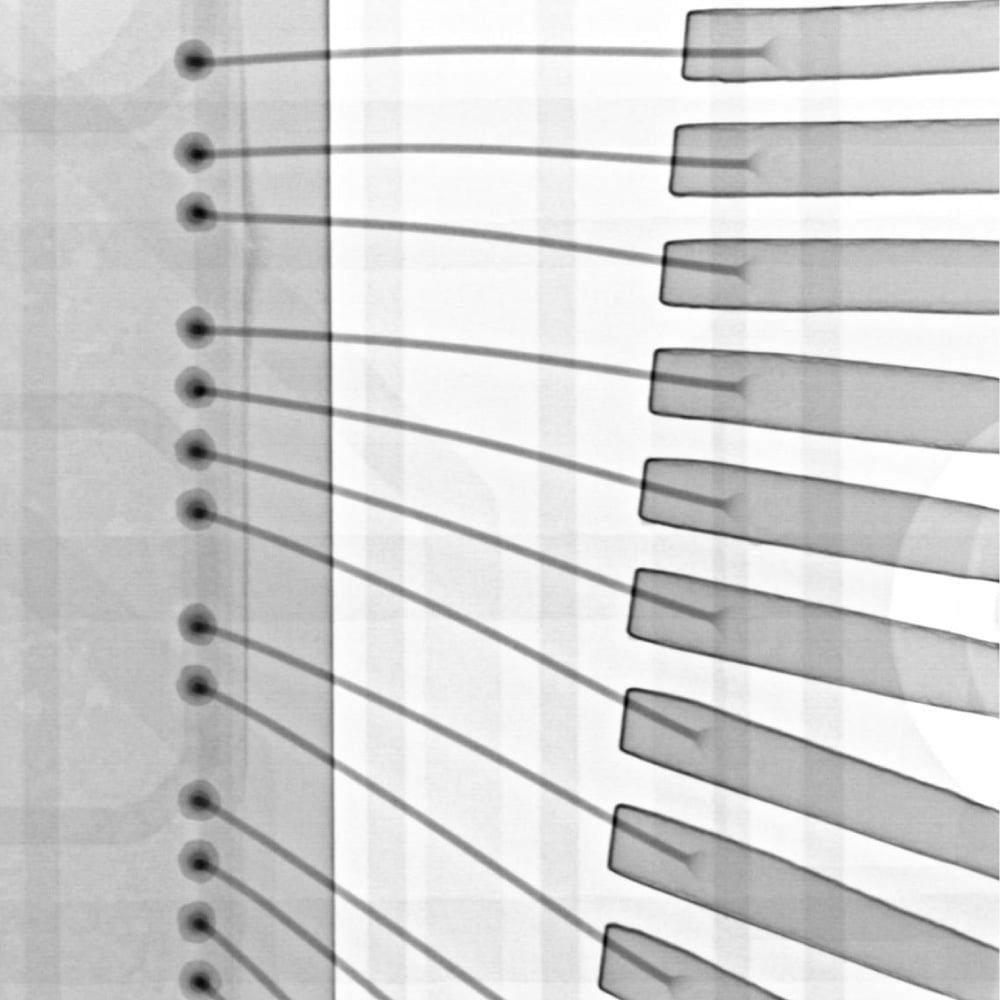
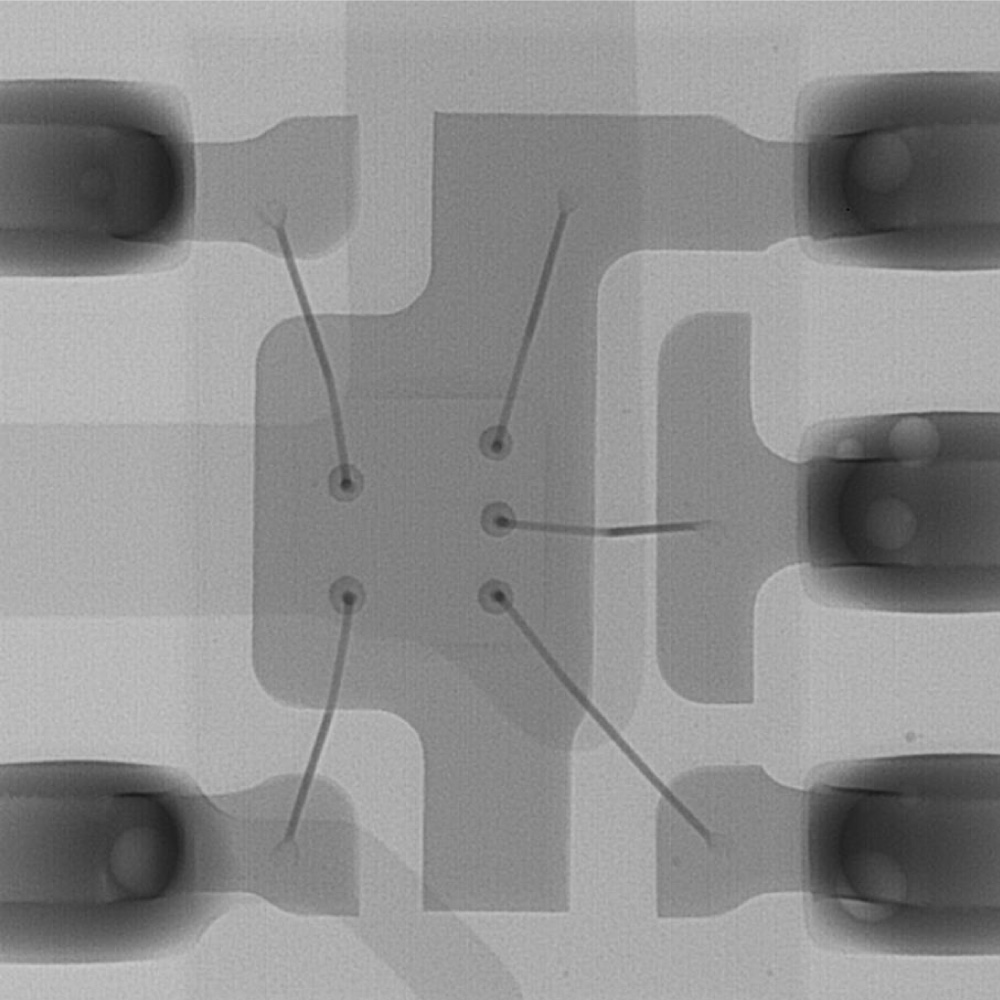
Ball grid array (BGA), Integrated circuit (IC) chip, Connectors, Capacitors, LED, Relays, Printed circuit board (PCB), AC adapter, Light bulbs filament, Electrical cable disconnects, Discharge traces of dielectric breakdown
Advanced Materials
Carbon-Fiber-Reinforced Polymers (CFRP), Insulation material, Carbon, Dissimilar material joint, Contamination in beryllium
Precision Conponents
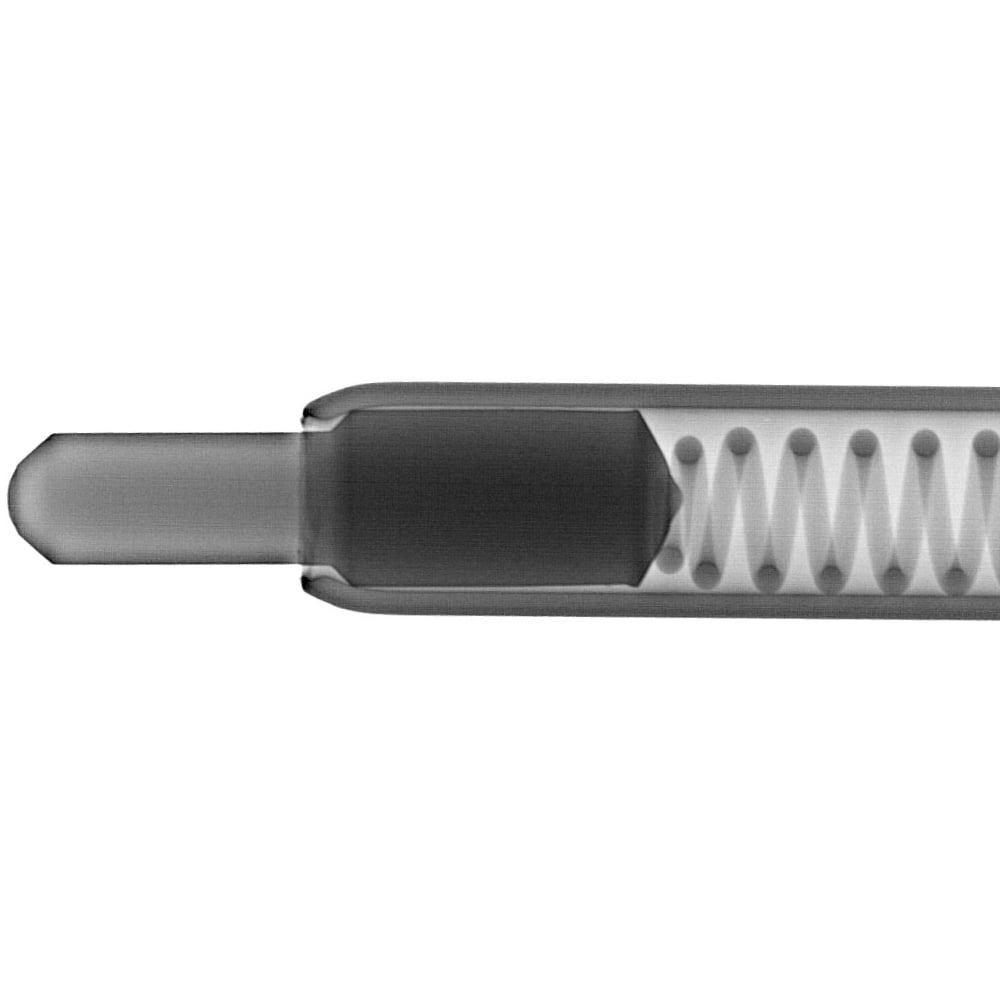
Probe, Bearing, Mating of plastic parts, Spring position
Creatures and Plants
Laboratory rats, Seeds, Flowers, Shell, Bone, Insects, Rice
Others
Microscopic foreign matter contamination, Voids in welding, Plastic bottle, Sealing of cans

FAQ for performance of X-Ray Inspection System

X-Ray Inspection System FAQ

Download

If you are unable to download a file

Please try the following solution.

  1. Please press Ctrl+F5 to clear the cache of your web browser and try again.
  2. Please restart your web browser and log in again to try again.
  3. Please change your web browser to another browser and try again.
  4. Restart the computer and try again.
  5. Please try again on a different computer.

Login Required

In this website, we provide only the latest version of information including instruction manuals as of our products. Therefore, the newest versions of manuals on the website might be not same as the ones of products you purchased in the past.

X-ray Inspection Systems

Search for related to X-ray Inspection Systems