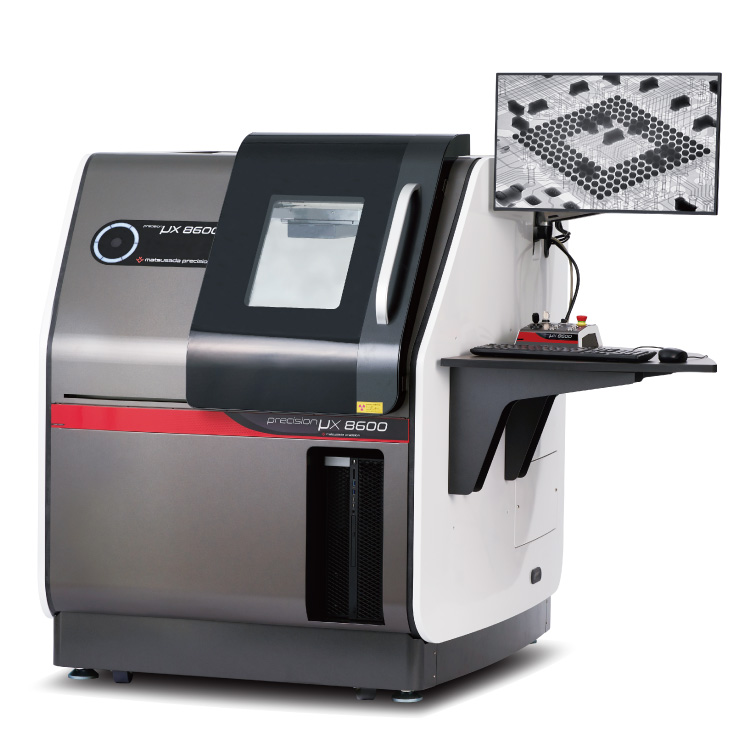
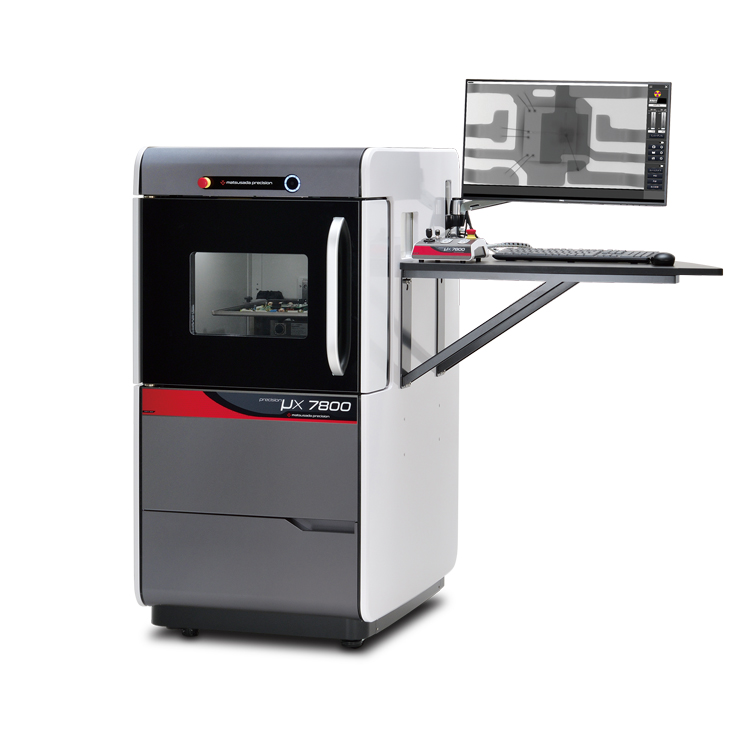
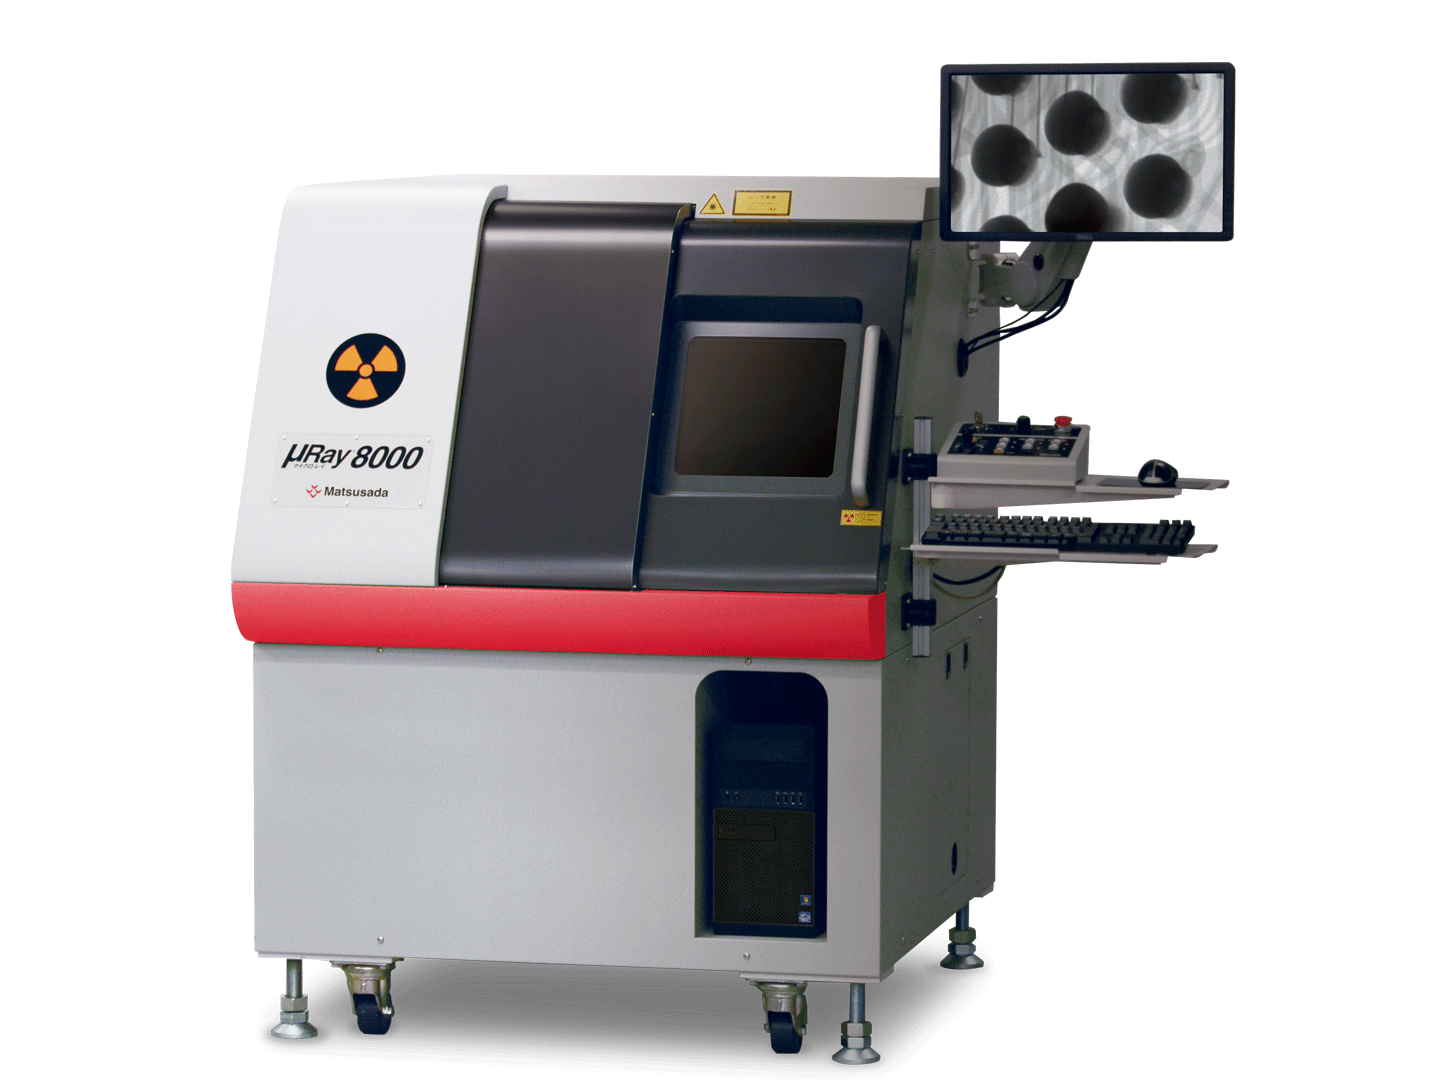
Microfocus X-ray Inspection System
With the tiltable detector for large object transmission from any angles
- Microfocus X-ray
- Max X-ray Voltage: 130kV
- Tiltable X-ray camera
- CT Unit (option)
Advanced X-ray inspection system best for thick object observation
With a 130kV microfocus X-ray tube, the X-ray inspection system offers high transmission observations to aluminum die casting, forged products, and metal parts. The X-ray system is also suited for non-destructive inspections of welding defects and is used for Printed Circuit Board Assembly Inspection to power devices and heat sinks.
Using the tiltable X-ray camera, you can easily observe three-dimensionally BGA joints and other defects that cannot be seen directly above.
Furthermore, the combination of a high-power microfocus X-ray source and a high-resolution flat-panel detector offers high-resolution and clear X-ray images. The X-ray system is available in a wide range of applications, from product development and quality evaluation analysis to inspections at worksites.
Features and Benefits
- Maximum 130kV X-ray tube for high-transmission imaging
- Tiltable camera for three-dimensional observation
- Increasing magnification by microfocus X-ray source
- High-resolution flat panel detector for high-quality X-ray image
- Easy-to-use software
- CT scanning (option)
Functions
Full range solutions for nondestructive testing
Three-dimensional observation by tiltable camera
The three-dimensional observation using the tiltable camera, you can easily observe thick objects.
Turntable makes it easier to inspect these products. (-LR option)
High performance of operability and user-usability
The possibility of better suitable posture
It can be used in both sitting posture and standing posture. It can be looked inside by huge windows, both sitting posture and standing posture.
Easy to insert and extract some products with large size
It is easy to insert and extract some products with large sizes of W: 20.07-inch x H: 21.26-inch window. Also, the wide space can make working property excellent.
User-friendly operation, No expert required µRayVision2
µRay Vision2, the system's dedicated software, not only makes controlling the stage and the X-ray beam easy but also provides a variety of image processing and measurement functions.
MDI system
The MDI system allows you to arrange different versions of a single image to compare the before and after effects of applying a filter or adjusting the contrast. You can also perform more precise positioning and move the stage while viewing a live image. By using the fixed pivot function to rotate the stage around the observation point and by holding down the mouse button during live feed in the direction you want the stage to move, you can manipulate the stage as required.
Model
Model | Tube voltage | Sample stage size | Inspection size |
---|---|---|---|
µRay8000 | 40 to 130 (kV) | X: 15.75 inches (400 mm) × Y: 15.75 inches (400 mm) | 2.52 inches (64 mm) × 4.49 inches (114 mm) |
Specifications
Options
- -LCTN, -LCTM, -LCTX
-
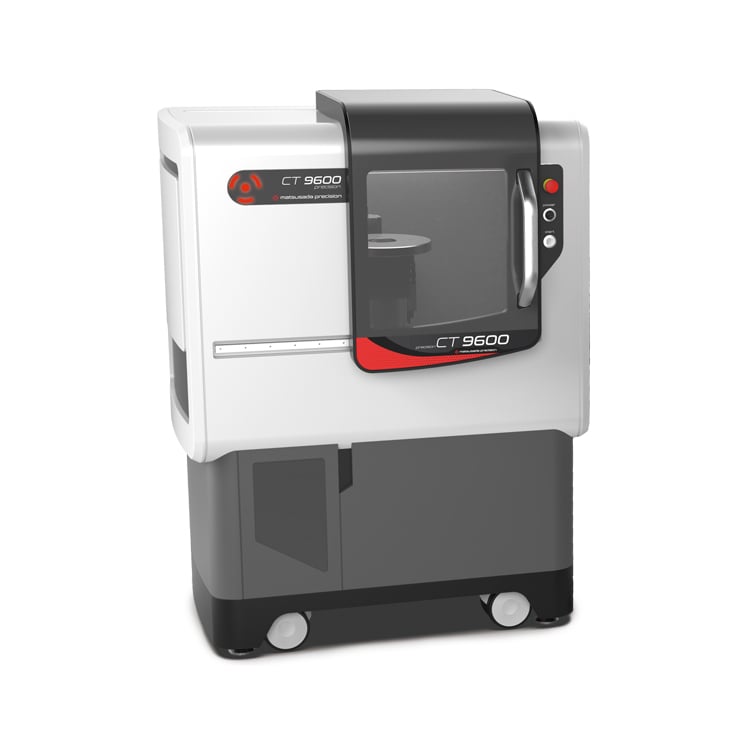
CT Unit: 2D/3D analysis software
A fluoroscope can only capture projection images, but a CT Unit can capture 3D images. A CT Unit can also capture tomographic images of the specified surface of a 3D image.
- -LE
-
Language setting (English)
The language setting of the Instruction Manual attached to the product, OS, and software is set to English. US keyboard is used.
- -LR
-
Rotatable stage
Rotation stroke: 360°, Size: 320 mmΦ Withstand load: 1 kg
- -LS64
-
Change stage size
Changing XY stage size to X: 15.75 inches (400 mm) × Y: 23.62 inches (600 mm)
- -L(***V)
-
Changing the input voltage
Input voltage is changed to 110 V, 115 V, 120 V, 200 V, 220 V, 230 V, 240 V, or Vac ±10% by entering it in ***.
How to Order
When ordering, add Option No. in the following order by alphabet, and number to Model No.
[Example] µRay8000-LCTNERS64(200V)
Optional items
- STG023
-
Four-jaw chucking (-LCT option)
As the device has the shape of chuck jaws on the edge, it is useful to observe samples that are difficult to fix on the stage.
The device length varies according to the size of works, so for details, contact us.
- STG002
-
Height adjustment stage [Size: 120 mm × 120 mm]
The stage helps you to raise its height, therefore, the sample can be closer to the X-ray camera for shooting, so you can take larger field images. - STG056
-
Height adjustment stage [Size: 120 mm × 140 mm]
The stage helps you to raise its height, therefore, the sample can be closer to the X-ray camera for shooting, so you can take larger field images.
Applications
Fields and Applications of X-ray Radiography Non-Destructive Testing
- Pharmaceuticals and Cosmetics
- Tablets, Capsules, Catheters, Medical pouches, Foreign objects in the face mask, Cosmetics
- Automobiles and Electric Vehicles
- Automotive components, Wire harness, Batteries, Molded plastic parts, Motor, Insert molded parts, Aluminum die casting, Sensor, Mating parts connection
- Electronics
- Ball grid array (BGA), Integrated circuit (IC) chip, Connectors, Capacitors, LED, Relays, Printed circuit board (PCB), AC adapter, Light bulbs filament, Electrical cable disconnects, Discharge traces of dielectric breakdown
- Advanced Materials
- Carbon-Fiber-Reinforced Polymers (CFRP), Insulation material, Carbon, Dissimilar material joint, Contamination in beryllium
- Precision Conponents
- Probe, Bearing, Mating of plastic parts, Spring position
- Creatures and Plants
- Laboratory rats, Seeds, Flowers, Shell, Bone, Insects, Rice
- Others
- Microscopic foreign matter contamination, Voids in welding, Plastic bottle, Sealing of cans
Download
If you are unable to download a file
Please try the following solution.
- Please press Ctrl+F5 to clear the cache of your web browser and try again.
- Please restart your web browser and log in again to try again.
- Please change your web browser to another browser and try again.
- Restart the computer and try again.
- Please try again on a different computer.
-
μRay8000/μRay8600 Datasheet
Date: 2023-08-04 Rev.05
PDF (6,151 KB)
-
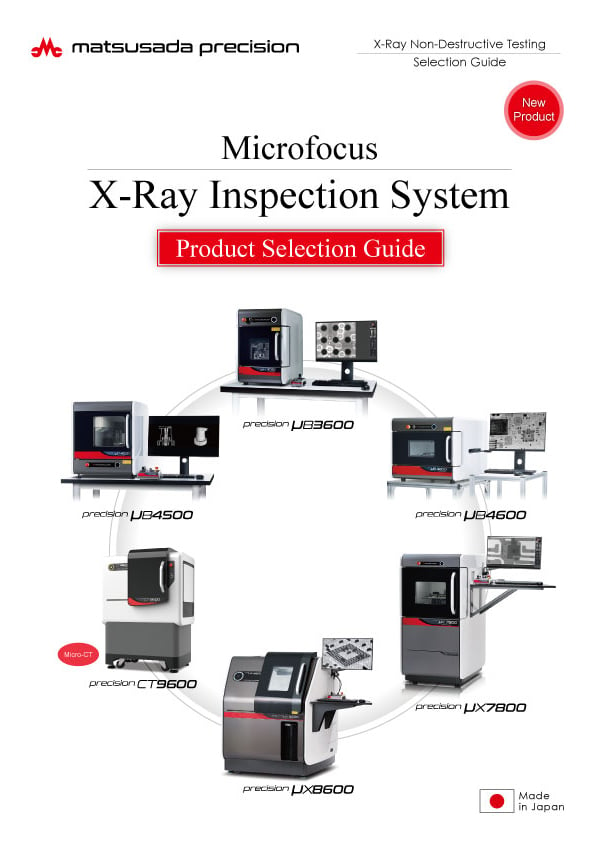
Microfocus X-Ray Inspection System Selection Guide
Date: 2024-06-24 rev.04
PDF (9,296 KB)
-
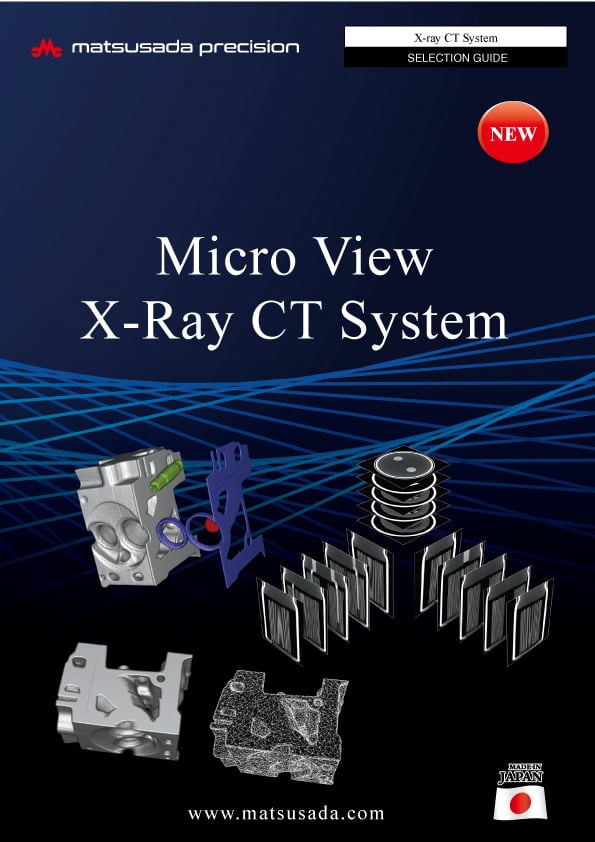
Micro View X-Ray CT System Guide
Date: 2024-12-05 Rev.06
PDF (7,478 KB)
Login Required
-
μRay8000/μRay8600 Datasheet
Date: 2023-08-04 Rev.05
PDF (6,151 KB)
-
Microfocus X-Ray Inspection System Selection Guide
Date: 2024-06-24 rev.04
PDF (9,296 KB)
-
Micro View X-Ray CT System Guide
Date: 2024-12-05 Rev.06
PDF (7,478 KB)
In this website, we provide only the latest version of information including instruction manuals as of our products. Therefore, the newest versions of manuals on the website might be not same as the ones of products you purchased in the past.